Quick start
Here is a quick, no-choices path to install Immich and take it for a test drive. Once you've tried it, you might use one of the many other ways to install and use it.
Requirements
- A system with at least 4GB of RAM and 2 CPU cores.
- Docker
For a more detailed list of requirements, see the requirements page.
Set up the server
Step 1 - Download the required files
Create a directory of your choice (e.g. ./immich-app) to hold the docker-compose.yml and .env files.
mkdir ./immich-app
cd ./immich-app
Download docker-compose.yml and example.env by running the following commands:
wget -O docker-compose.yml https://github.com/immich-app/immich/releases/latest/download/docker-compose.yml
wget -O .env https://github.com/immich-app/immich/releases/latest/download/example.env
You can alternatively download these two files from your browser and move them to the directory that you created, in which case ensure that you rename example.env to .env.
Step 2 - Populate the .env file with custom values
# You can find documentation for all the supported env variables at https://immich.app/docs/install/environment-variables

# The location where your uploaded files are stored
UPLOAD_LOCATION=./library

# The location where your database files are stored. Network shares are not supported for the database
DB_DATA_LOCATION=./postgres

# To set a timezone, uncomment the next line and change Etc/UTC to a TZ identifier from this list: https://en.wikipedia.org/wiki/List_of_tz_database_time_zones#List
# TZ=Etc/UTC

# The Immich version to use. You can pin this to a specific version like "v1.71.0"
IMMICH_VERSION=release

# Connection secret for postgres. You should change it to a random password
# Please use only the characters `A-Za-z0-9`, without special characters or spaces
DB_PASSWORD=postgres

# The values below this line do not need to be changed
###################################################################################
DB_USERNAME=postgres
DB_DATABASE_NAME=immich
- Populate
UPLOAD_LOCATIONwith your preferred location for storing backup assets. It should be a new directory on the server with enough free space. - Consider changing
DB_PASSWORDto a custom value. Postgres is not publicly exposed, so this password is only used for local authentication. To avoid issues with Docker parsing this value, it is best to use only the charactersA-Za-z0-9.pwgenis a handy utility for this. - Set your timezone by uncommenting the
TZ=line. - Populate custom database information if necessary.
Step 3 - Start the containers
From the directory you created in Step 1 (which should now contain your customized docker-compose.yml and .env files), run the following command to start Immich as a background service:
docker compose up -d
Try the web app
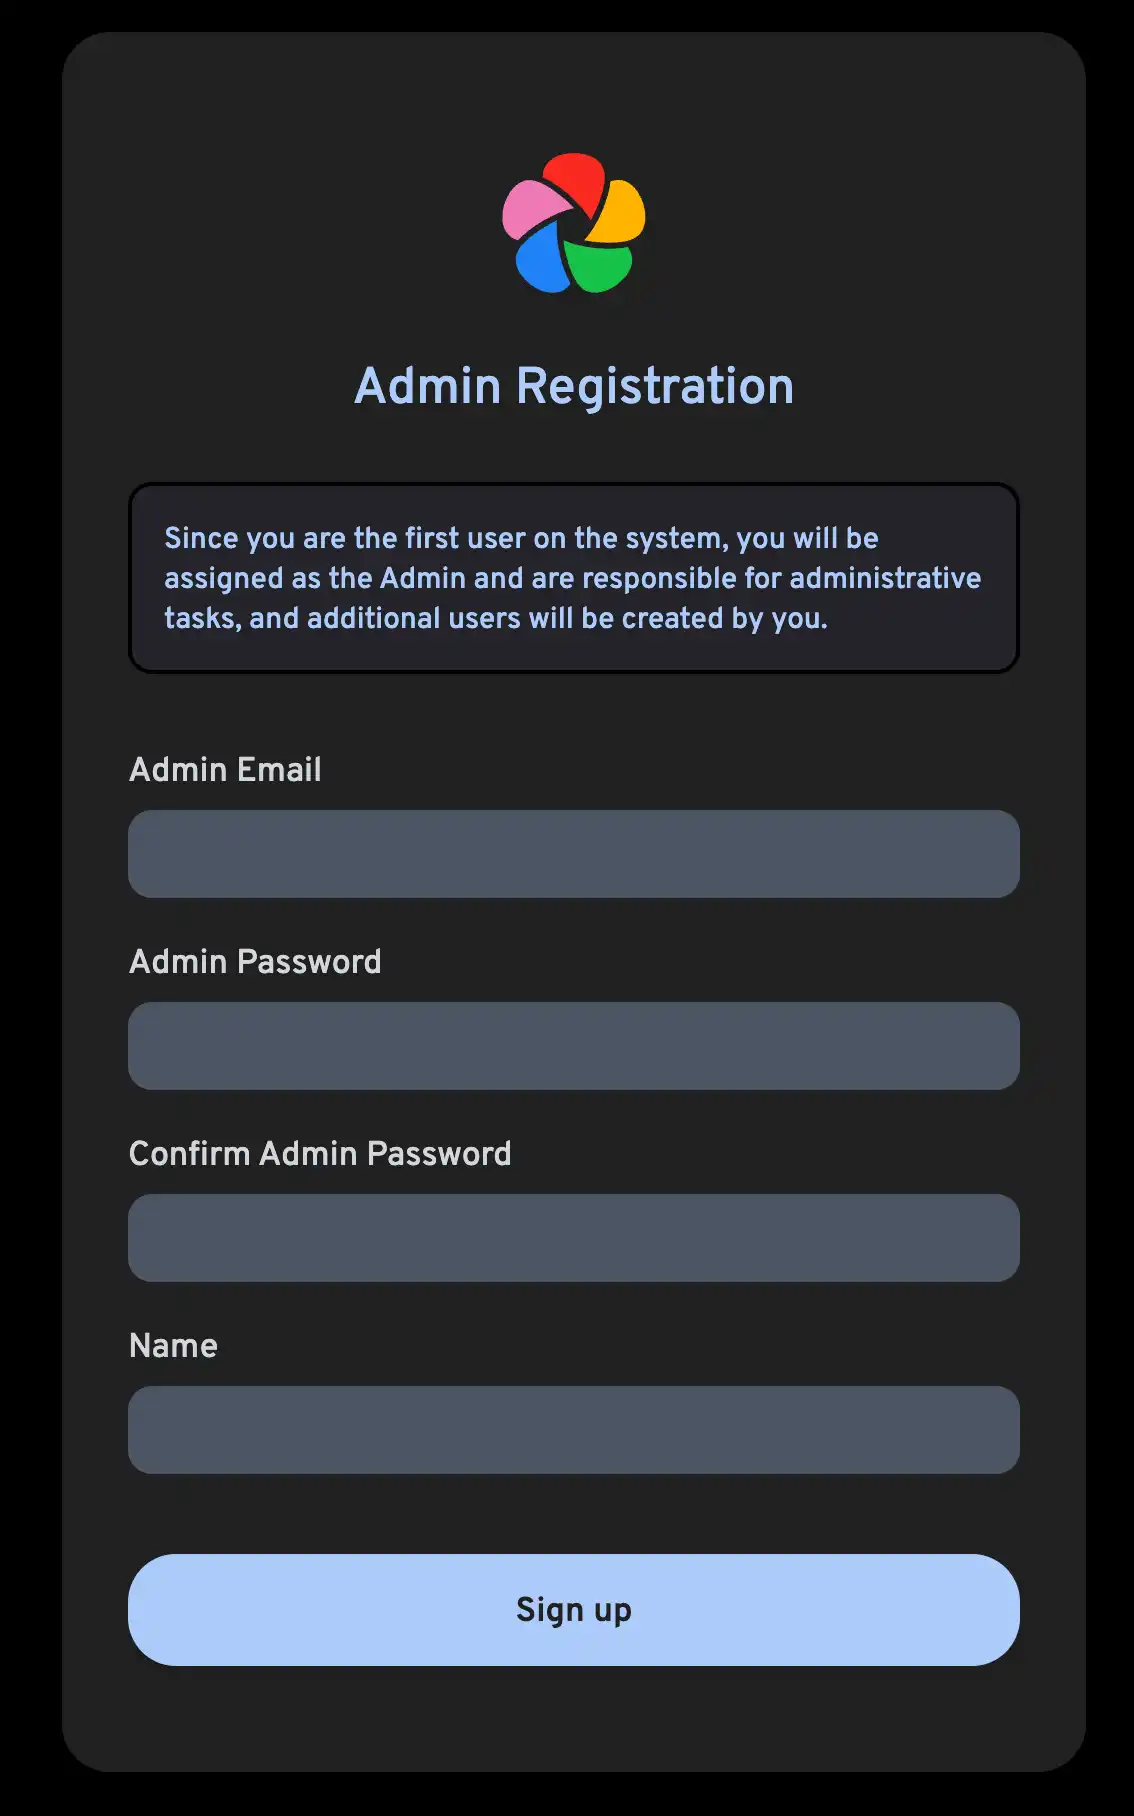
The first user to register will be the admin user. The admin user will be able to add other users to the application.
To register for the admin user, access the web application at http://<machine-ip-address>:2283 and click on the Getting Started button.

Follow the prompts to register as the admin user and log in to the application.
Try uploading a picture from your browser.
Try the mobile app
Download the Mobile App
The mobile app can be downloaded from the following places:
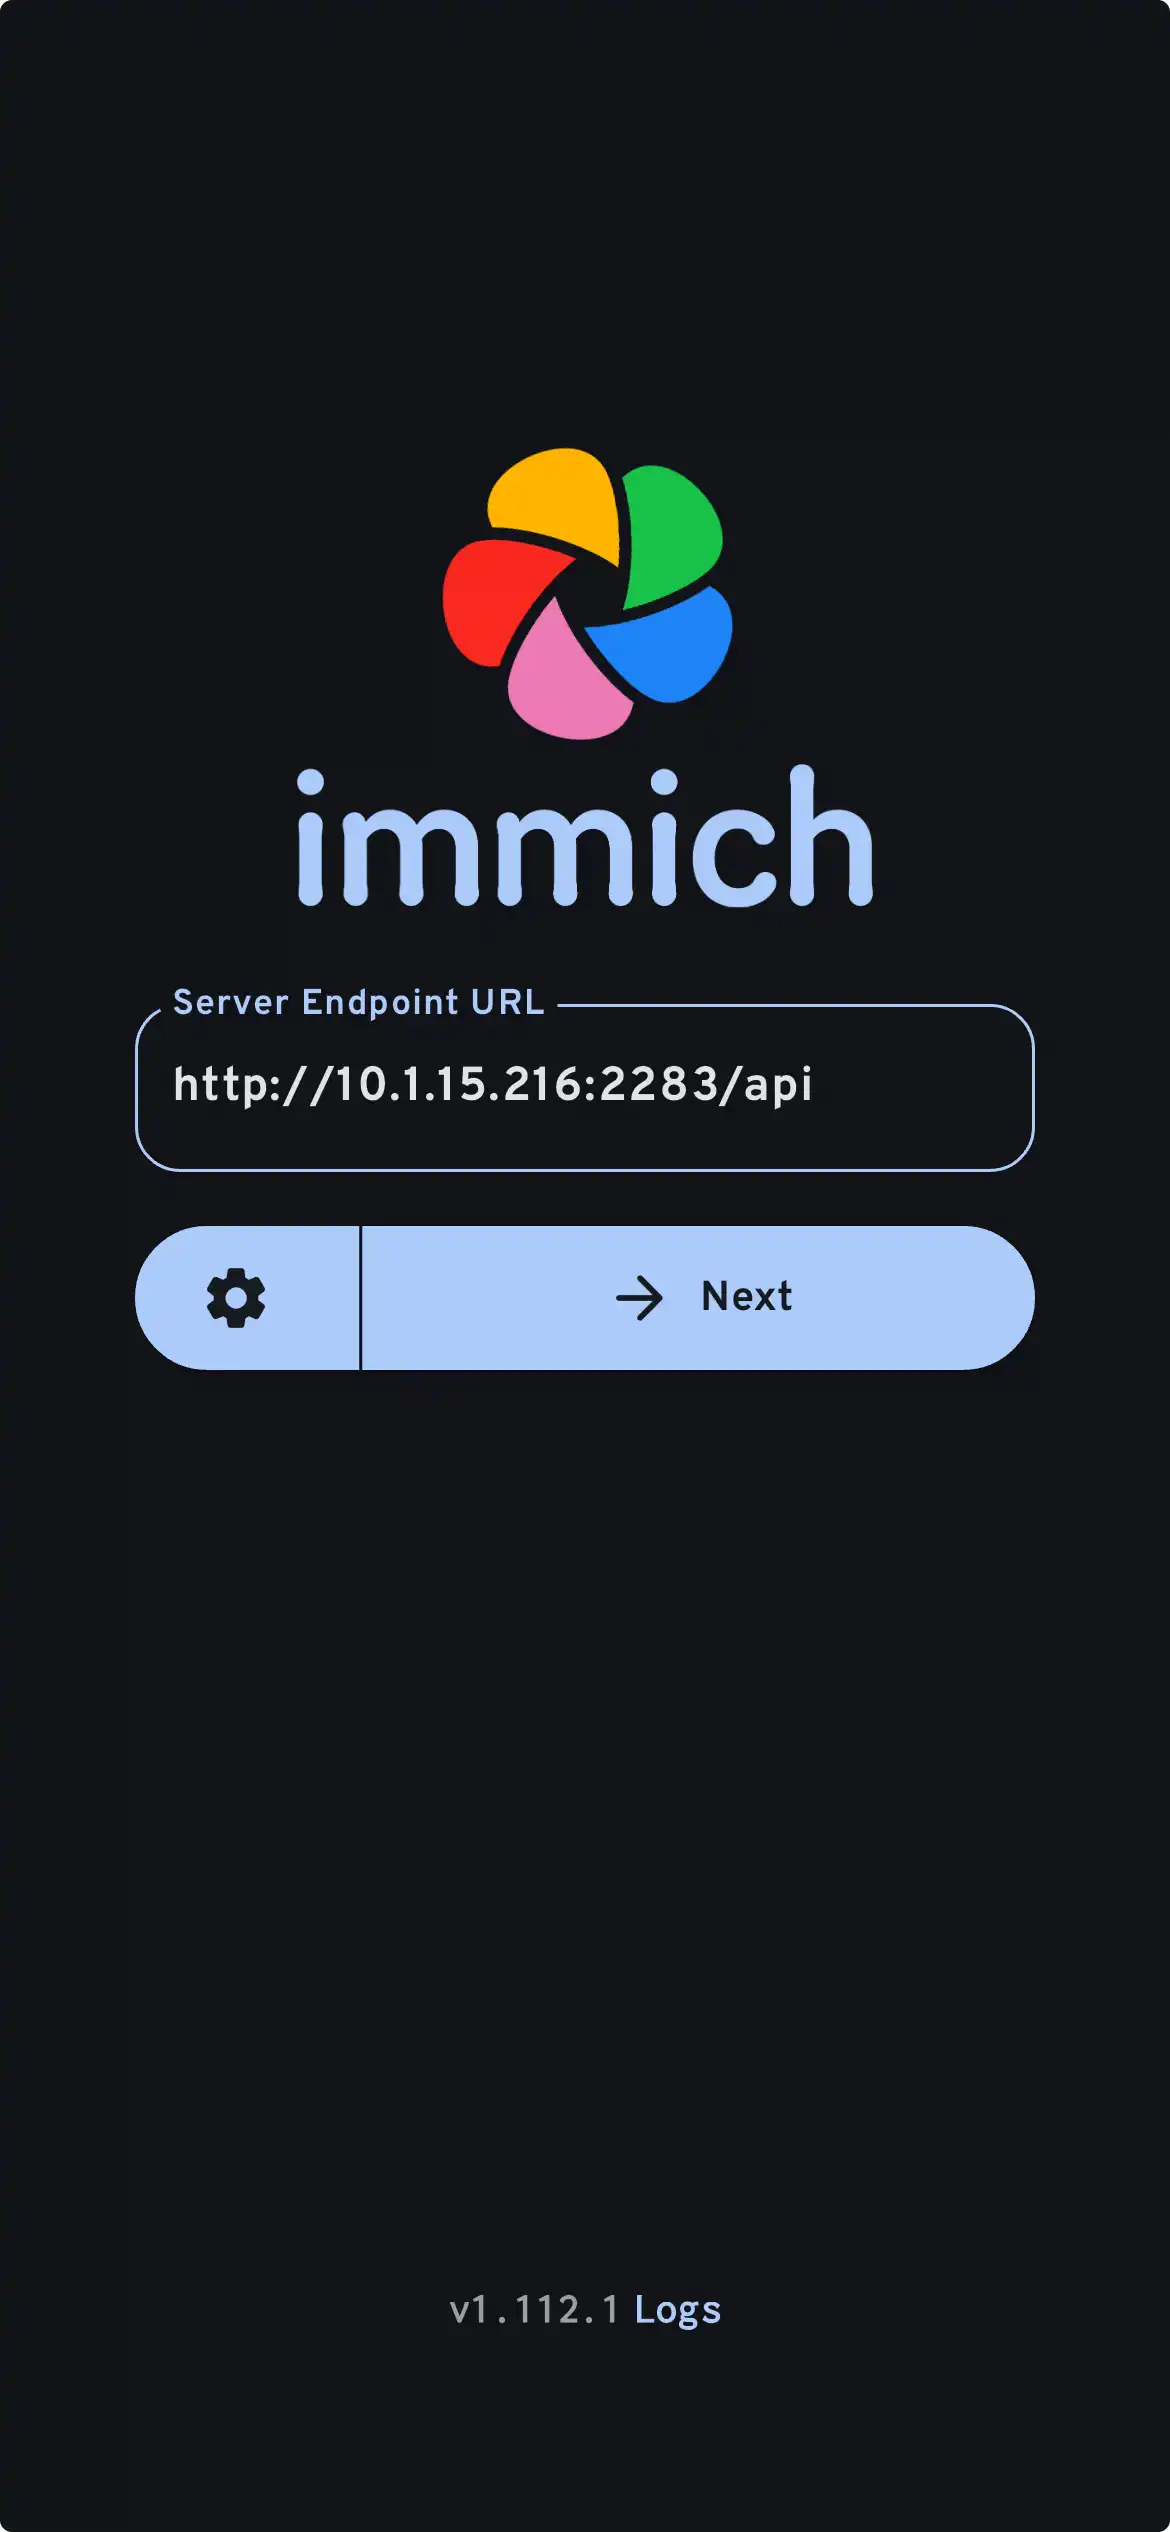
Login to the Mobile App
Login to the mobile app with the server endpoint URL at http://<machine-ip-address>:2283

In the mobile app, you should see the photo you uploaded from the web UI.
Transfer Photos from Your Mobile Device
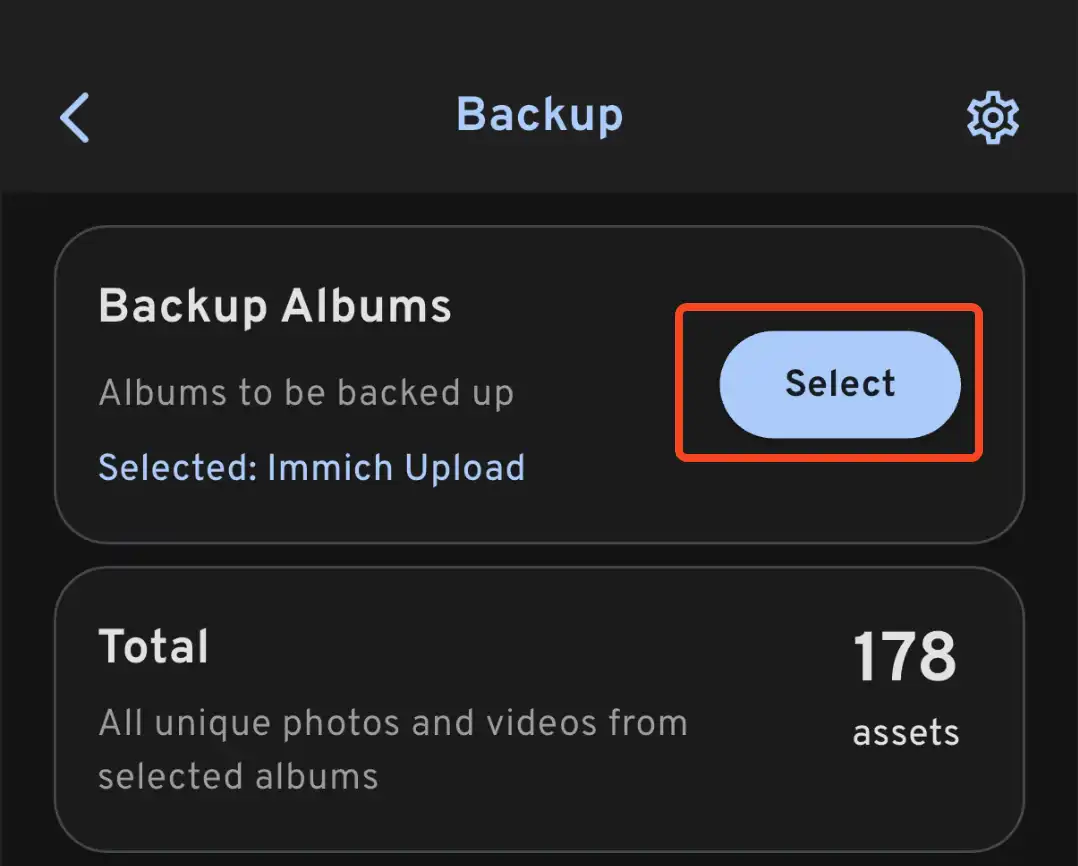
- Navigate to the backup screen by clicking on the cloud icon in the top right corner of the screen.
- You can select which album(s) you want to back up to the Immich server from the backup screen.

- Scroll down to the bottom and press "Start Backup" to start the backup process. This will upload all the assets in the selected albums.
The backup time differs depending on how many photos are on your mobile device. Large uploads may take quite a while. To quickly get going, you can selectively upload few photos first, by following this guide.
You can select the Jobs tab to see Immich processing your photos.
Review the database backup and restore process
Immich has built-in database backups. You can refer to the database backup for more information.
The database only contains metadata and user information. You must setup manual backups of the images and videos stored in UPLOAD_LOCATION.
Where to go from here?
You may decide you'd like to install the server a different way; the Install category on the left menu provides many options.
You may decide you'd like to add the rest of your photos from Google Photos, even those not on your mobile device, via Google Takeout. You can use immich-go for this.
You may want to upload photos from your own archive.
You may want to incorporate a pre-existing archive of photos from an External Library; there's a guide for that.
You may want your mobile device to back photos up to your server automatically.